SFTP, which stands for Secure File Transfer Protocol, is a method of transferring files between computers. It operates over SSH (Secure Shell) and uses public-key cryptography for authentication. This means that your login credentials and file transfers are encrypted, making them much more secure than the traditional FTP (File Transfer Protocol).
Why SFTP over SCP?
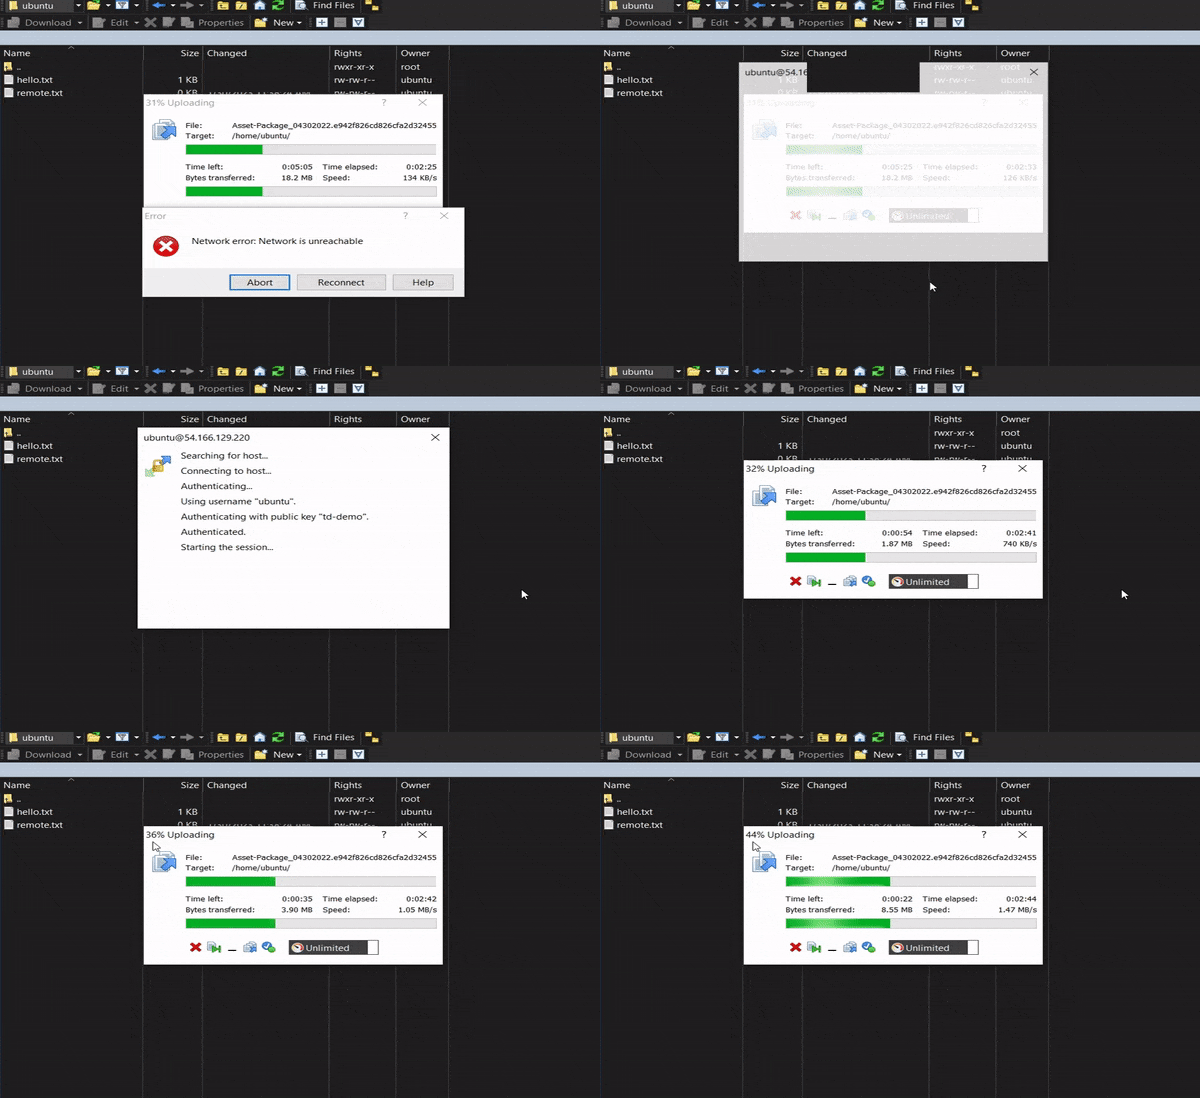
SFTP and Secure Copy Protocol (SCP) are both network protocols that you can use for transferring files. They also both run on the same default port (22) for SSH. However, when it comes to transferring large files securely, SFTP stands out as the better option. It not only protects files in transit but also includes features such as the ability to manage directories, resume transfers, and keep a log of transfers. For example, imagine moving large files to your remote server, and your internet connection suddenly drops. With SCP, the transfer will fail, and you will need to start the transfer from the beginning.

However, with SFTP, you can simply resume the transfer from where it left off, saving time and ensuring the successful transfer of your important files.
Pre-requisites
- WinSCP – in this post, we’re using an SFTP client for Windows. You may use a different client suited for your operating system.
- Vsftpd – SFTP server
- EC2 instance with Ubuntu AMI – you can create one by following this tutorial.
- Open up port 22 (SSH) in your instance’s security group.
STEPS
1. SSH into your EC2 instance and type the following commands:
sudo apt update -ysudo apt install vsftpd
2. Update the vsftpd.conf file
sudo vi /etc/vsftpd.conf
3. Disable anonymous FTP by changing this line:
from anonymous_enable=YES to anonymous_enable=NO
4. Add the following settings at the bottom of the vsftpd.conf file:
pasv_enable=YES
pasv_min_port=1024 3
pasv_max_port=1048
pasv_address=<Public IP of your instance>
5. To save changes, press the escape key, and then type :wq! and hit enter.
6. Restartvsftpdby typing sudo systemctl restart vsftpd
Access the SFTP server using WinSCP
Select SFTP as the file protocol and enter your instance’s public IP address. Login using the default ubuntu username, and leave the password blank.

Click Advanced → Authentication, then select your instance’s private key file. The key should be in PPK format, not PEM. If you got the PEM version, convert it first to PPK. Click OK, then Login.

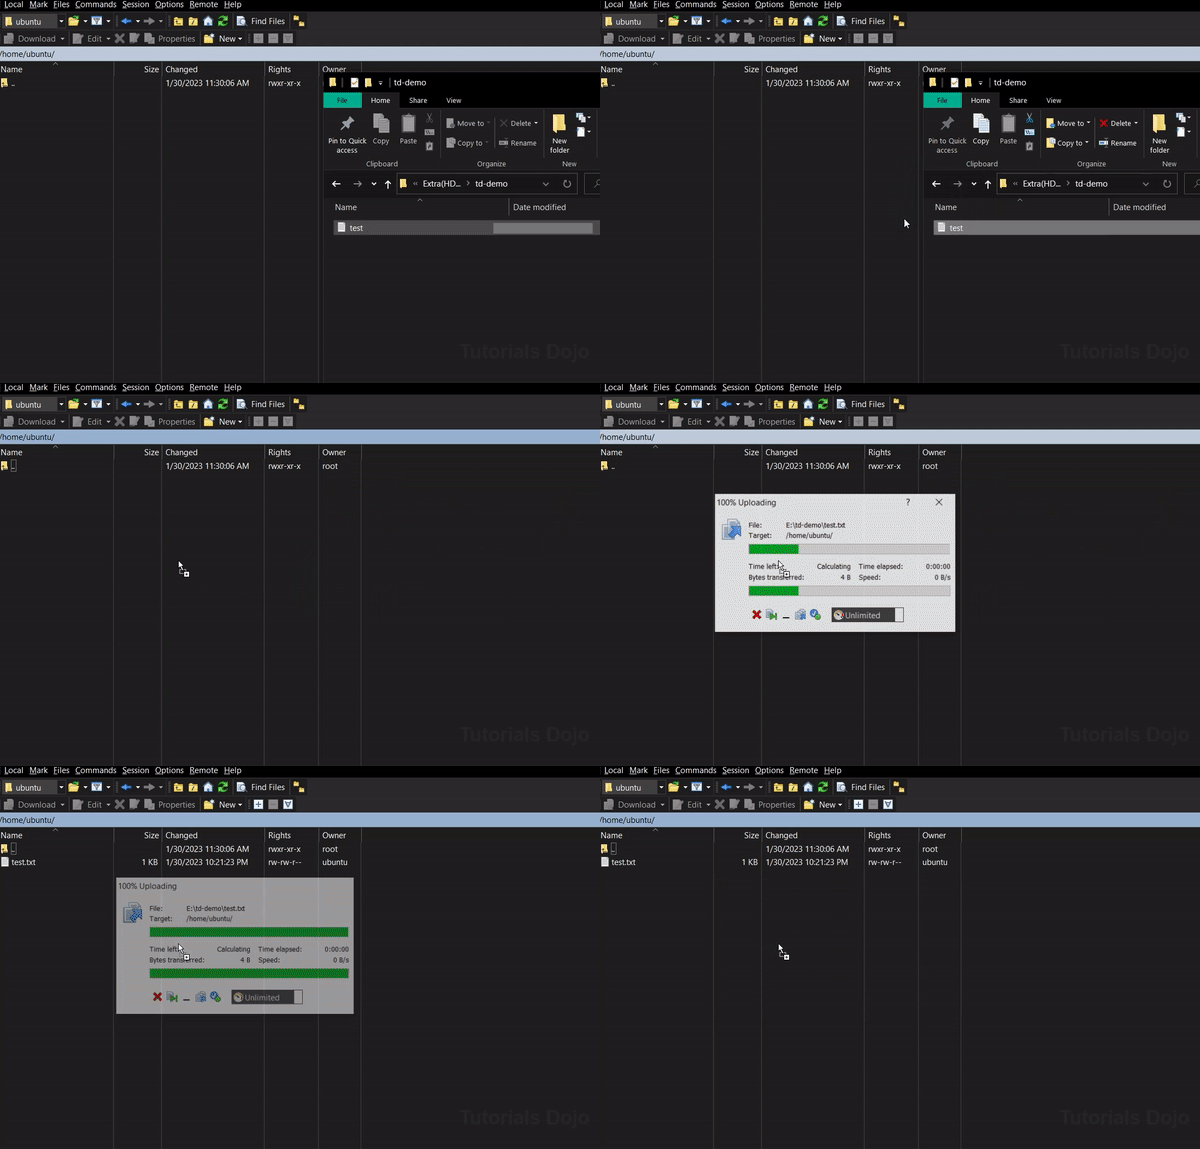
And that’s it! By now, you should be able to transfer files between your local machine and your Ubuntu EC2 instance using an SFTP client. In my case with WinSCP, file transfer is done thru a simple drag-and-drop action.

Aside from file transfer, you can also perform other tasks such as managing and organizing files, creating and modifying directories, and even executing command-line operations directly on the remote server through your SFTP client.
